
Beyond the Store Shelf: The Benefits of Making Your Own Yogurt
Ah, yogurt. The subject of many television ads (fun fact: I once only knew Jamie Lee Curtis as “The Activia Lady”) and many mysterious lunchbox explosions. It’s a popular snack for kids, teens, and adults. It comes in many flavors (some healthier than others), shapes, and sizes. There’s no doubt that you can find a type of yogurt that you like.
Except for me.
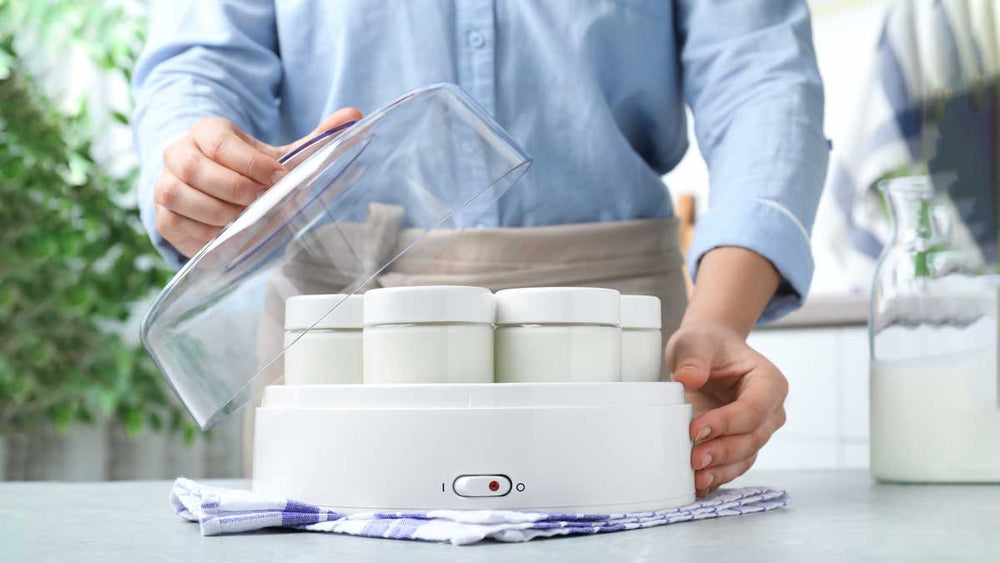
To be completely honest with you, I don’t like yogurt. I have a dairy allergy, which, as you can imagine, limits most of my yogurt intake. I’m also a “texture eater,” meaning I don’t eat mushy food such as applesauce, pudding, and, yes, yogurt. So you can imagine my surprise when I realized DIY yogurt was possible. I always thought you would need special equipment or an expert knowledge of bacterial cultures to make your own yogurt. Luckily for you, Foodguides fam, you don’t need either! Making your own yogurt is simple and quite delicious! Come along on our journey to make yummy yogurt that even your own “texture eater” will love!
Unleashing the Microbiome Magic: How DIY Yogurt Boosts Gut Health
Yes, yogurt is a healthier option than a doughnut, but did you know it can positively affect your gut health? A study by the American Journal of Gastroenterology uncovered that those with Irritable Bowel Syndrome (more on that here) who eat two to three cups of homemade yogurt daily for six months experienced relief from daily symptoms of IBS and had one to two regular bowel movements a day!
For those with GERD (learn more here), yogurt can provide normal bowel function and serve as a source of protein. Plus (if not too sour), yogurt can soothe an upset stomach through a pleasant, cooling sensation after consumption, especially if you eat the yogurt straight from the fridge!
Customization is Key: Tailoring Your Yogurt to Your Preferences (Flavors, Sweeteners)
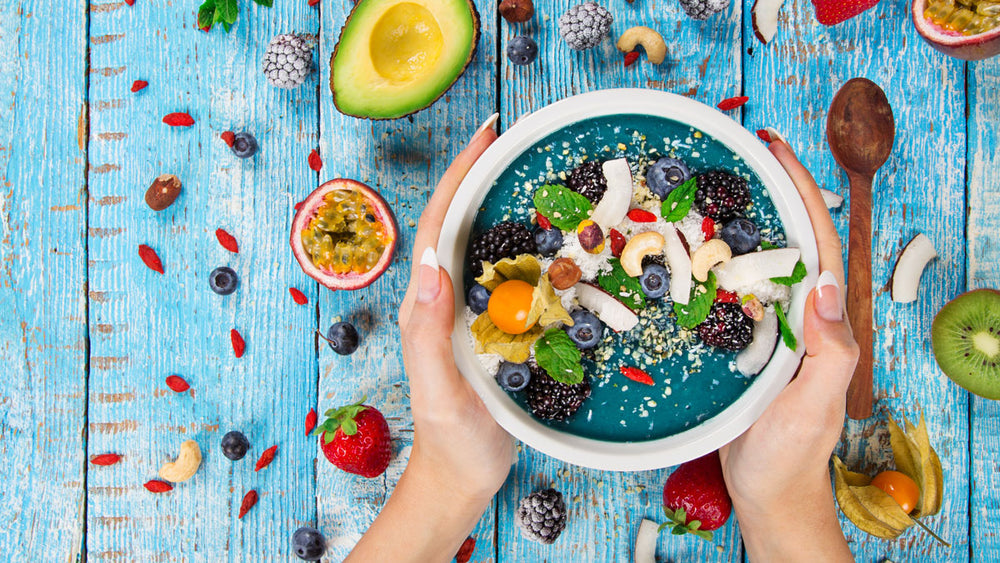
Here’s to all of you picky eaters: the best thing about homemade yogurt is that it is homemade. You can add as many fruits, flavorings, and sugar as you want! If you prefer more texture in your yogurt, add some diced fruits such as blueberries, strawberries, and blackberries for a little extra crunch. If you like less-sweetened yogurt, go easy on the added sugar. Choose soy, almond, oat, or coconut milk if you have a specific milk preference. The possibilities for your yogurt are endless!
Yogurt-Making Made Simple: A Step-by-Step Guide
Step One: Assembling Your Yogurt Arsenal: Essential Tools and Ingredients for Success
Yogurt is made with two ingredients: milk and yogurt starter, also known as the “mother culture” (more on that below). Yogurt starters can be purchased at natural and local grocery stores. You can also start with plain, full-fat yogurt, which already contains the necessary bacteria. You will also need a stove and a large bowl (or a Crock-Pot), a small bowl, a thermometer, and a spoon.
Step Two: The Art of Activation: Selecting and Preparing Your Starter Culture
The yogurt starter should have instructions on the package for use. It is highly recommended that you follow these directions since too much starter can cause a sour-tasting yogurt, and too little starter will barely create any yogurt at all. A good ratio to follow is two to three teaspoons of starter per cup of milk. Keep in mind that this ratio may need to change if you are using an alternative milk.
An essential step in making yogurt is pasteurizing (heating) the milk. This process prevents unhealthy bacteria such as E. coli from contaminating your yogurt. Grab your large boil, fill it with your choice of milk, and heat to 180°F. For a thinner yogurt, maintain the temperature for about 10 minutes. If you prefer a thicker yogurt, maintain the temperature for 20 minutes.
Once the desired time/thickness is met, remove the pot (carefully!) from the stove and let it cool to about 108°F - 112°F. Once this temperature range is met, add one cup of milk to the small bowl. Add your yogurt starter according to the directions on the packet. In this case, add two to three teaspoons. Once the yogurt starter has been added to the milk, return this mixture to the large bowl of heated milk. Stir gently to mix everything together. Now we’re ready to incubate!
Step Three: Fermentation Fundamentals: Creating the Perfect Environment for Yogurt Growth
This is where the magic happens. As the mixture incubates, the milk and yogurt starter will create yogurt (more on that below). You must ensure the mixture maintains its temperature range of 108°F - 112°F. This can be achieved in many different ways. The easiest is through your oven. Preheat the oven to 200°F, then turn off. Add the yogurt mixture to the oven and turn on for short periods to make sure the mixture stays between 108°F - and 112°F. Leave the mixture undisturbed for six to eight hours.
Another way to incubate your yogurt is in a Crock-Pot. Adapt the above steps as necessary. Once the yogurt has congealed (solidified), refrigerate immediately to avoid the formation of acid, which will create a sour yogurt.
Step Four: From Milk to Magic: The Yogurt-Making Process Explained Step-by-Step
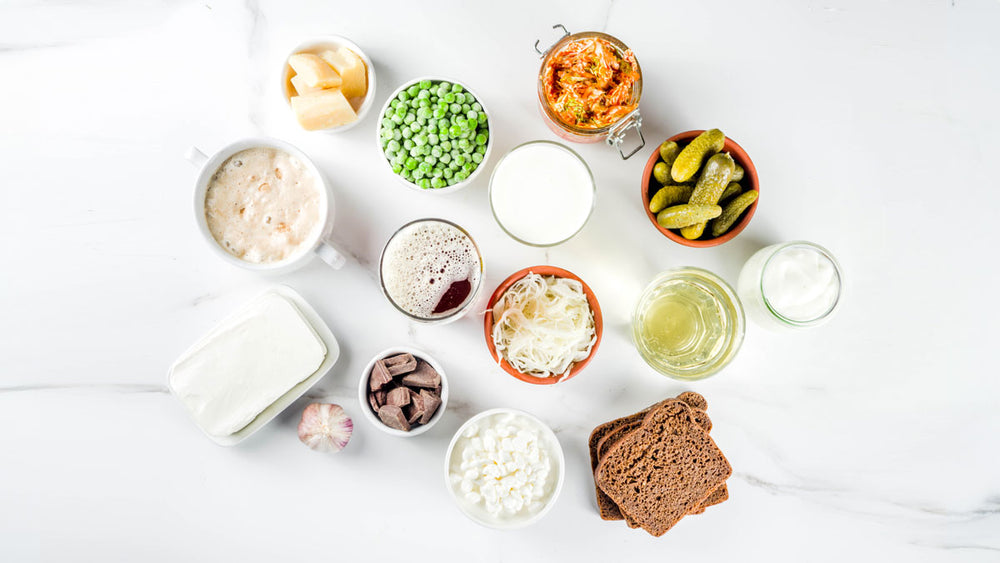
So, how do we get from milk to yogurt anyway? Simple. Yogurt is made through the fermentation of milk. This is achieved when milk and “good” (non-disease forming) bacteria combine and sit for a specified time at a designated temperature. The most commonly found bacteria in yogurt include Lactobacillus delbrueckii (subspecies bulgaricus) and Streptococcus thermophilus. These are found in the yogurt starter or “mother culture.”
When the perfect time and temperature are achieved, the bacteria in the milk will begin to “eat” the lactose (sugar) molecules and turn them into lactic acid. This mixture then begins to coagulate (form a solid). Fun fact: You can also make buttermilk and sour cream from the same process by adjusting your time and temperature.
DIY Yogurt Hacks for Every Kitchen:
Tip One: Troubleshooting Common Yogurt-Making Challenges
As you can imagine, creating homemade yogurt can be a trial-and-error process. Your first batch may be too sour, sweet, or watery. Don’t be afraid to try again! If your yogurt has a texture issue (chunky, lumpy, runny, or cottage cheese consistency), try keeping a close eye on your incubation temperature. This is where the thermometer mentioned above will come in handy. Ensure your yogurt stays in that preferred temperature range of 108°F —112°F.
You've likely grown the wrong bacteria if your yogurt has a rotten, dirty, or grass-like smell. In this case, THROW OUT IMMEDIATELY. This type of bacteria in your yogurt can make you sick. Try re-reading the yogurt starter instructions or use a different mother culture. If your yogurt is too sour, try experimenting with varying incubation times. Remember, the longer you incubate, the more sour the yogurt.
Tip Two: Flavor Frenzy: Experimenting with Fruits, Spices, and Toppings
The possibilities for experimentation with homemade yogurt are endless. The most common add-ins are fruit, spices, and toppings. If you like fruit in your yogurt, try adding a mixed berry (blueberry, blackberry, and strawberry) puree. Peaches are another great option and will leave your yogurt with a beautiful sunrise color. Honey can be used as a natural way to sweeten your yogurt instead of regular sugar and makes a great topping! If you prefer a savory yogurt as opposed to a sweet yogurt, try adding cardamom.
Tip Three: Beyond Breakfast: Creative Uses for Homemade Yogurt
If you made too much yogurt in your first batch, don’t worry! You can use yogurt in many other recipes! Yogurt can be added to cakes, flatbreads, and tarts. You can also use it to make your salad dressings. During the hot summer, try freezing your yogurt into popsicles! This will be a sweet and cool treat to beat the heat.
Will you make your yogurt this summer? What ingredients will you add? Let us know in the comments below!
- Chandran, M., Varghese, R., Thoppil, A., Joseph, M., Augustine, T., and Varghese, Roy. (2017). A prospective study evaluating the role of homemade yogurt as a treatment option for Irritable Bowel Disease. American Journal of Gastroenterology, 112, pg 238-239, https://journals.lww.com/ajg/fulltext/2017/10001/A_Prospective_Study_Evaluating_the_Role_of.448.aspx
- Elli, M., Callegari, M., Ferrari, S., Bessi, E., Cattivelli, D., Soldi, S., Morelli, L., Goupil Feuillerat, N., and Antoine, J. (2006). Survival of yogurt bacteria in the human gut. American Society for Microbiology: Applied and Environmental Microbiology, https://www.ncbi.nlm.nih.gov/pmc/articles/PMC1489325/
- Thomas, L. (2019). Foods that reduce heartburn (and acid reflux). News Medical and Life Sciences, https://www.news-medical.net/health/Foods-for-Heartburn.aspx
- Smith, D. K. (2015). Yogurt made simple - OSU extension service. https://extension.oregonstate.edu/sites/default/files/documents/8836/fs173emakingyogurt.pdf


Comments
Join The Conversation...